I've now missed my target launch date of 11th September. I haven't set a new target as the good days are now becoming fewer and further apart!
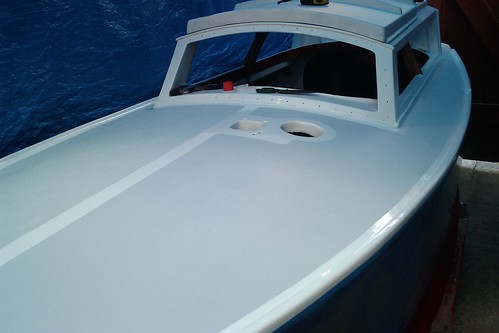
At least the decks are now completed and I'm pretty happy with the results.
More to follow.


I've now missed my target launch date of 11th September. I haven't set a new target as the good days are now becoming fewer and further apart!
At least the decks are now completed and I'm pretty happy with the results.
More to follow.
"The best-laid schemes o' mice an 'men
Gang aft agley"
So what happened? Well of the 10 days leave I had, it rained every single day. The only dry days were the weekends, when I would have been off work anyway! Add to that a leaking water tank in the attic, leading to the wrong sort of building, as I had to replace part of the ceiling in my daughter's bedroom (after fixing the leak).
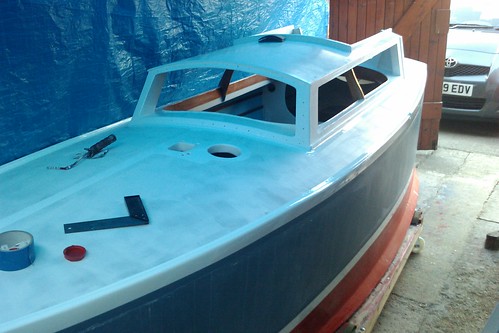
I did however mange to get all the base coats applied and I'm pretty sure that 3 days will complete the hull and non skid on the decks. There are some minor parts to finish after that (rudder, hatch, washboard) but these can be done in slower time and are not really as weather dependant. The to-do list is definitely getting short, unfortunately so are the days as we draw towards winter! Keep watching for more...


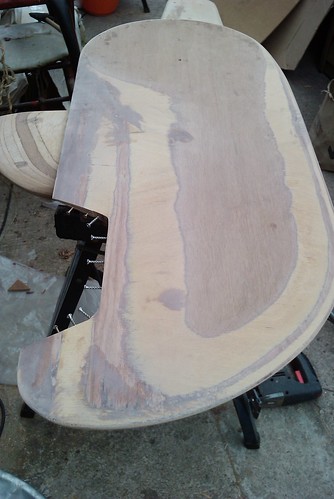
Some of the things I have done and have photographic evidence are the leading of the rudder blade and sheathing of it and the rudder stock.
Notch cut out to accept lead
Lead poured
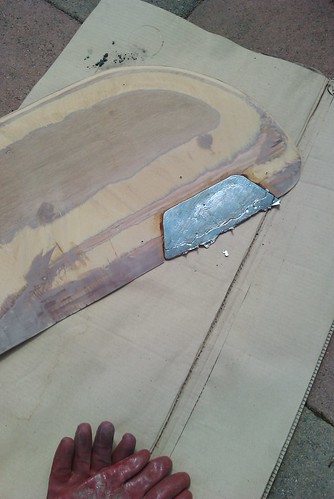
Filled, faired, glassed.

Fixing
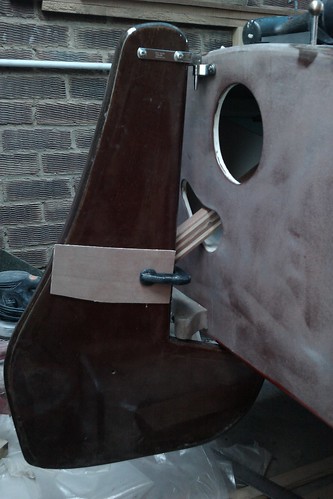
In the last photo above the eagle eyed will also notice the yuloh pivot. This was made from an A4 stainless bolt with a drilled out bronze door knob off a piece of furniture. Yet another of those small jobs.
Mounting deck hardware, cleats blocks etc. has also taken up any idle time that I may have had, not to mention marking and drilling about 400 hoes in the Lexan windows.
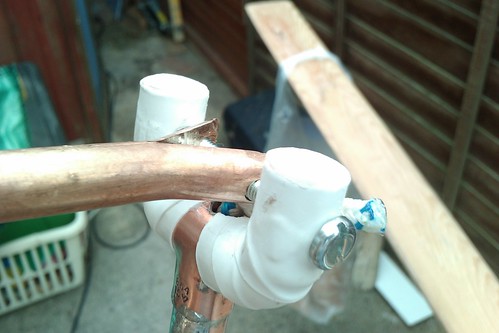
With the arrival of my sail, it became apparent that I'd have to complete the tack strut assembly. I built one as to plan except of course it was not made of hard copper pipe as specified. I (like others have already discovered) was sure this would not be robust enough in use and lead to fairly rapid failure.
With that in mind I went about fabricating my own design using standard 15mm plumbing parts.
Component parts.
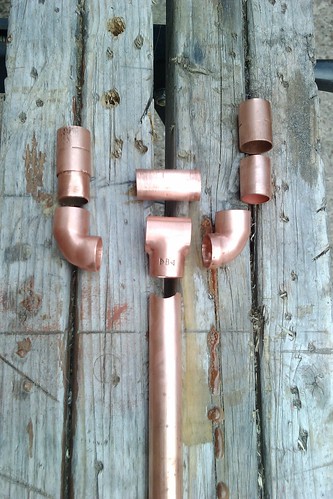
One T piece cut down and the inner shoulders reamed out to accept small joiner piece.
Two right angle bends trimmed down and two inline joiners and associated pipe work.
Nine parts in total.
Soldered together.
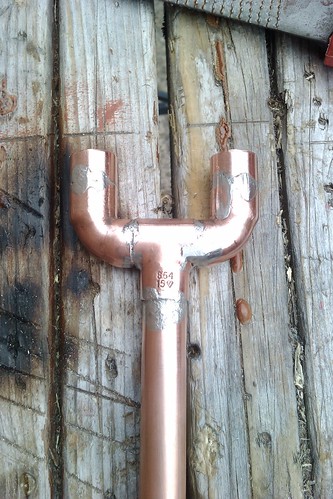
Assembled
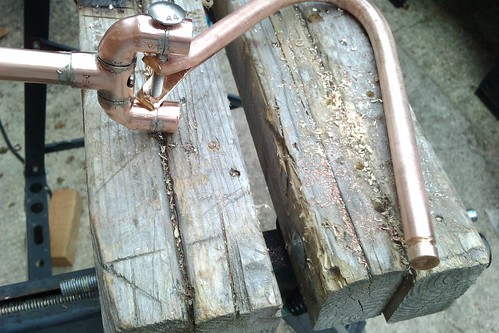
Filled with epoxy/microfibres
The entire top section was filled with epoxy/microfibre mix before re-drilling to accept bolt and rope strop. It all appears to be pretty bullet proof.
I've plenty to move along with. I'm hoping to get the sail rigged the next fine windless day and as I have all my paint waiting, I'll be starting final painting any day now.
More later.....
It took quite a bit of work to plane to size and shape, and quite a bit of fiddling to get it to fit through the deck! We got there eventually and have since installed the halyard sheave and glassed the top section.
Cables installed internally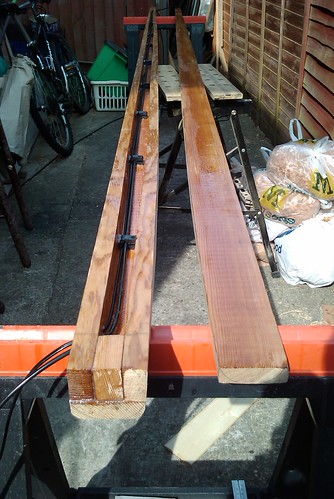
No going back, all sealed up
It fits - eventually!
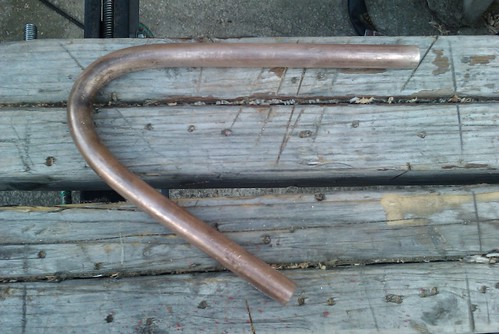
One of the more unexciting things was the bending of the 12mm phosphor bronze rod for the furling drum axle. This required a fair bit of ingenuity to get it right, involving drilling several holes in large immoveable objects and wielding a brazing torch to anneal the work hardened metal. In the end it all worked out OK.
No easy bend!
Lots more going on to prepare for painting once the weather decides to warm up again. I've also had quotes back from my sailmakers and am about to place an order. Watch this space....
First was gluing the mast up. This now just needs the starboard panel installed to finish. I need to run the internal wiring for the VHF antenna and the masthead lights before this happens, but it will be a straight forward simple job.
To get the sticky stuff over with I also laminated the tiller. Once again it will need some finishing and trimming but other than that another tick off the list.
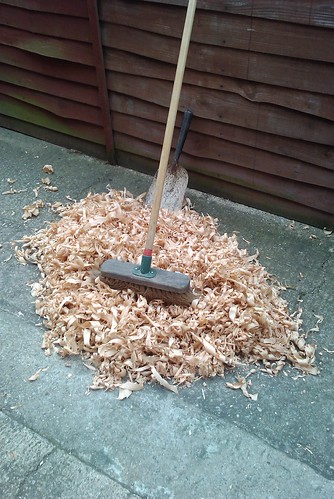
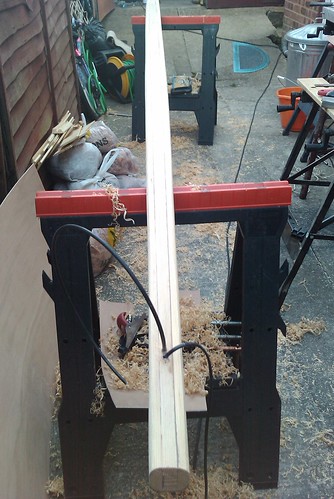
Well at long last the weather has improved enough to make a start on the boat again. So what's with all the shavings?
First off was the completion of the boom and yard, with work on the Yolah ongoing.
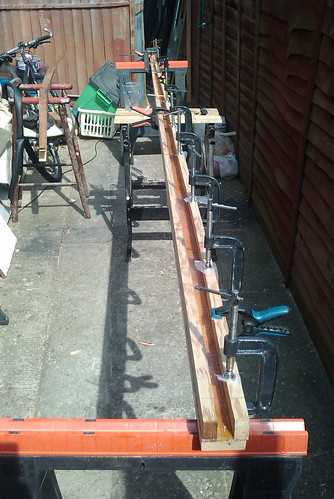
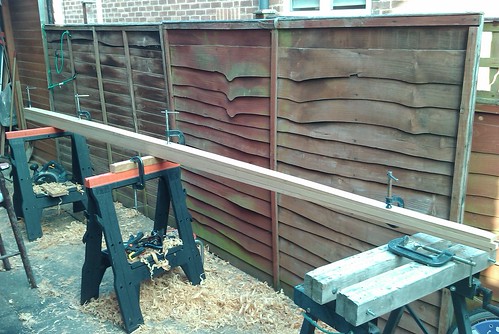
Then work started in earnest on the mast. Today I got more or less all the pieces planed to size, I say almost, because it still needs a little bit of trimming here and there to bring the dimensions down to size.It's starting to look good, and a quick clamp up of the parts is promising. I'll continue to work on this with the goal of gluing it up once I have a fine warm day.
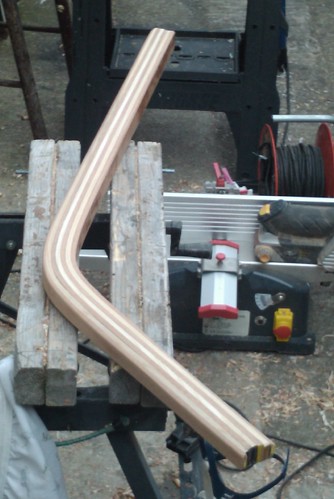
From left to right:
Yolah, yard, boom, Mast (p side, front, back, s side)

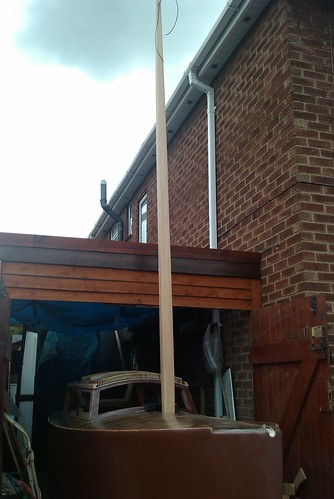
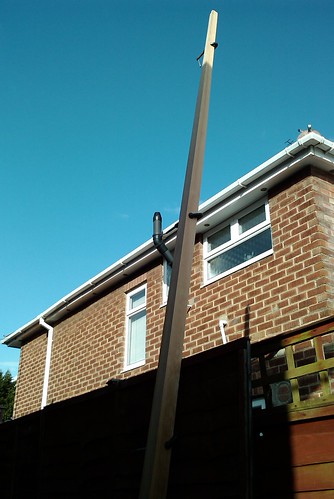
Mast clamped together
Pointing towards the blue sky!
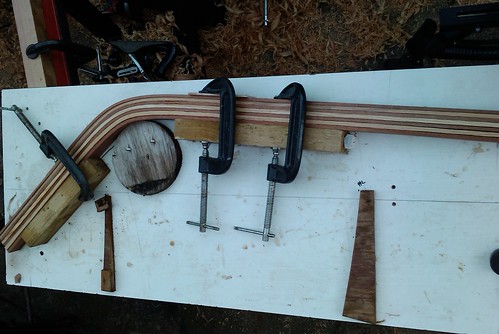
In a departure from spar making, I've also been fabricating the tiller. This will be made by laminating Mahogany and White Oak to give it a nice appearance, even though no one will ever see it! (gluten for punishment). First job of course is ripping the laminates from a piece of stock, so the table saw was pressed into action. A jointer was then used to clean up and make the strips of uniform thickness (7 in total). The tiller has a very pronounced bend and making the strips any thicker would have made for an impossible bend.
The strips were placed on a jig and clamped into place.
Tiller Jig
(plywood mock up in background, used to establish clearance above transom baffle)

It was pretty obvious that to acquire the bend was going to take some steaming, so once again the steam cleaner was resurrected from the garage, a steam box fabricated and the wood given a bit of a cooking. Once done the strips bent nicely into position. Once again I'll glue together once a nice Epoxy day comes along!
Tiller clamped on Jig.
That's mostly it for now. More later.
I've roughly finished the yard and boom, and started work on the mast itself. The weather broke before I had managed to plane the pieces to size, so this is very much still a work in progress, as is the Yuloh. With no end in sight to the cold weather, all I can do is sit back and wait for better conditions and grab a few minutes here and there when it's not raining or snowing!
Ripping wood

Making Dust (note the sunshine, even if it is only 2ºC)

Working in the rain! (5ºC)
